
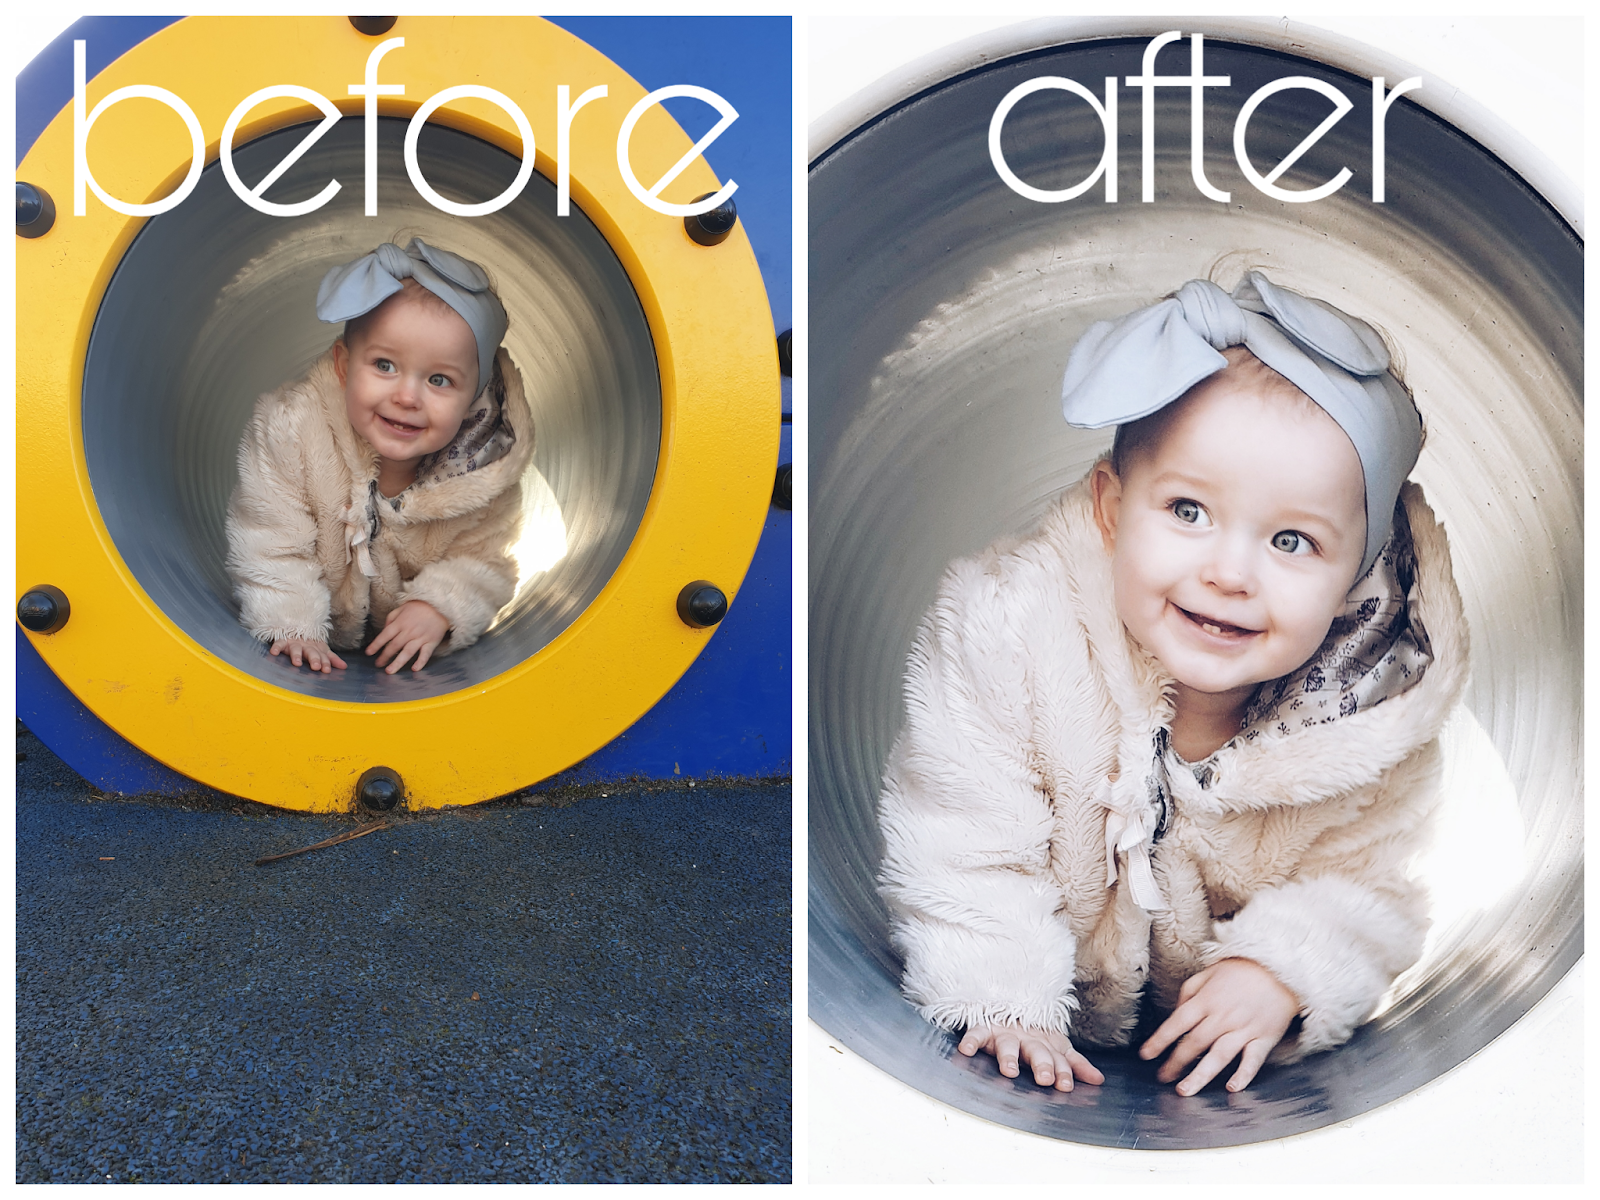
When you have kind of committed to an 'Instagram Theme,' it can be so frustrating when you capture an image you love that does not 'fit' your feed. Recently I have really been playing about with editing, as I refuse to not post an image, if I love it. So I just play about with it until it fits or I can make it work. I know some people will be thinking this is silly just post what you want, while others will feel my pain. Basically, to me, Instagram is art and this is my art and I like to keep it 'themed.' But honestly this is a totally separate issue for another day! And I'm guessing if your reading this you get where I'm coming from so lets just get straight into it!
Firstly, to take the original shot, I used my phone, the Samsung S9. (I know previous when I have spoken about phone photography I used the Samsumg S8, which I do use most of the time, but this time the S9 was all I had to hand).
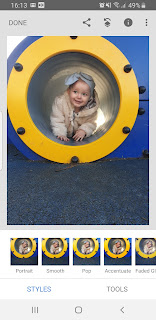
The apps I used for this were Snapseed, Face Tune and VSCO, all are free and I believe are available on the I Phone and Android. I just want to quickly say, I don't edit Lake hereslf in anyway, I never do, I don't need to.
Step 1
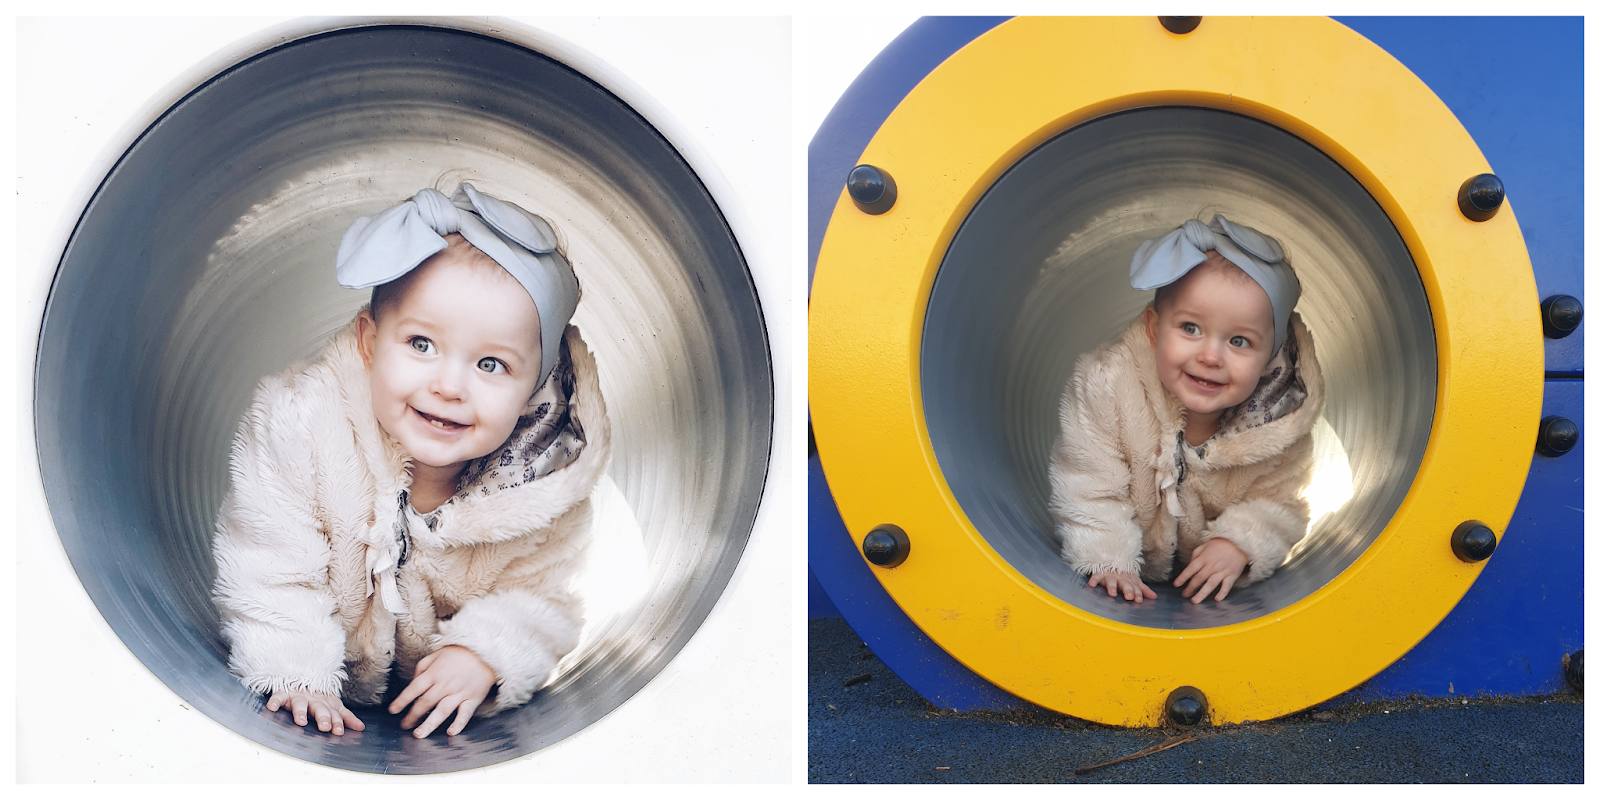
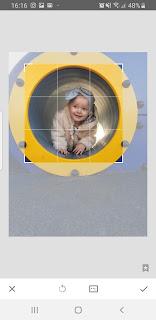
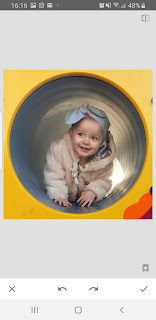
I opened the image in Snapseed and cropped to square to cut away the unnecessary.
Step 2
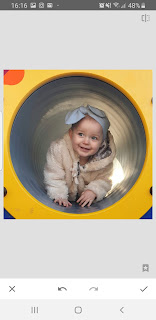
Next I used the 'Healing' tool to to erase the blue and black its of the tunnel. I love the healing tool so much, I use it all the time, its so handy. For some of the smaller bits I zoomed in then used the heal tool. If you have not used the heal tool before you simply select Healing then use your finger to run over the bits you want to erase.

Step 3
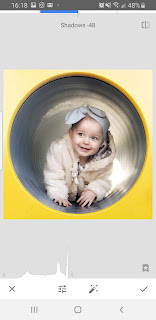
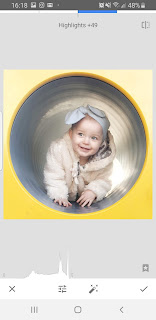
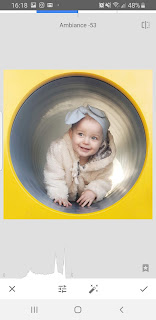
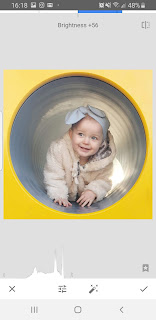
Still in Snapseed, under the tune section I tuned the image. I turned the brightness up, turned the ambience down, highlights up and shadows down. See below for exact amounts.
Step 5
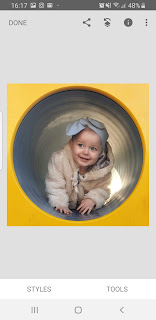
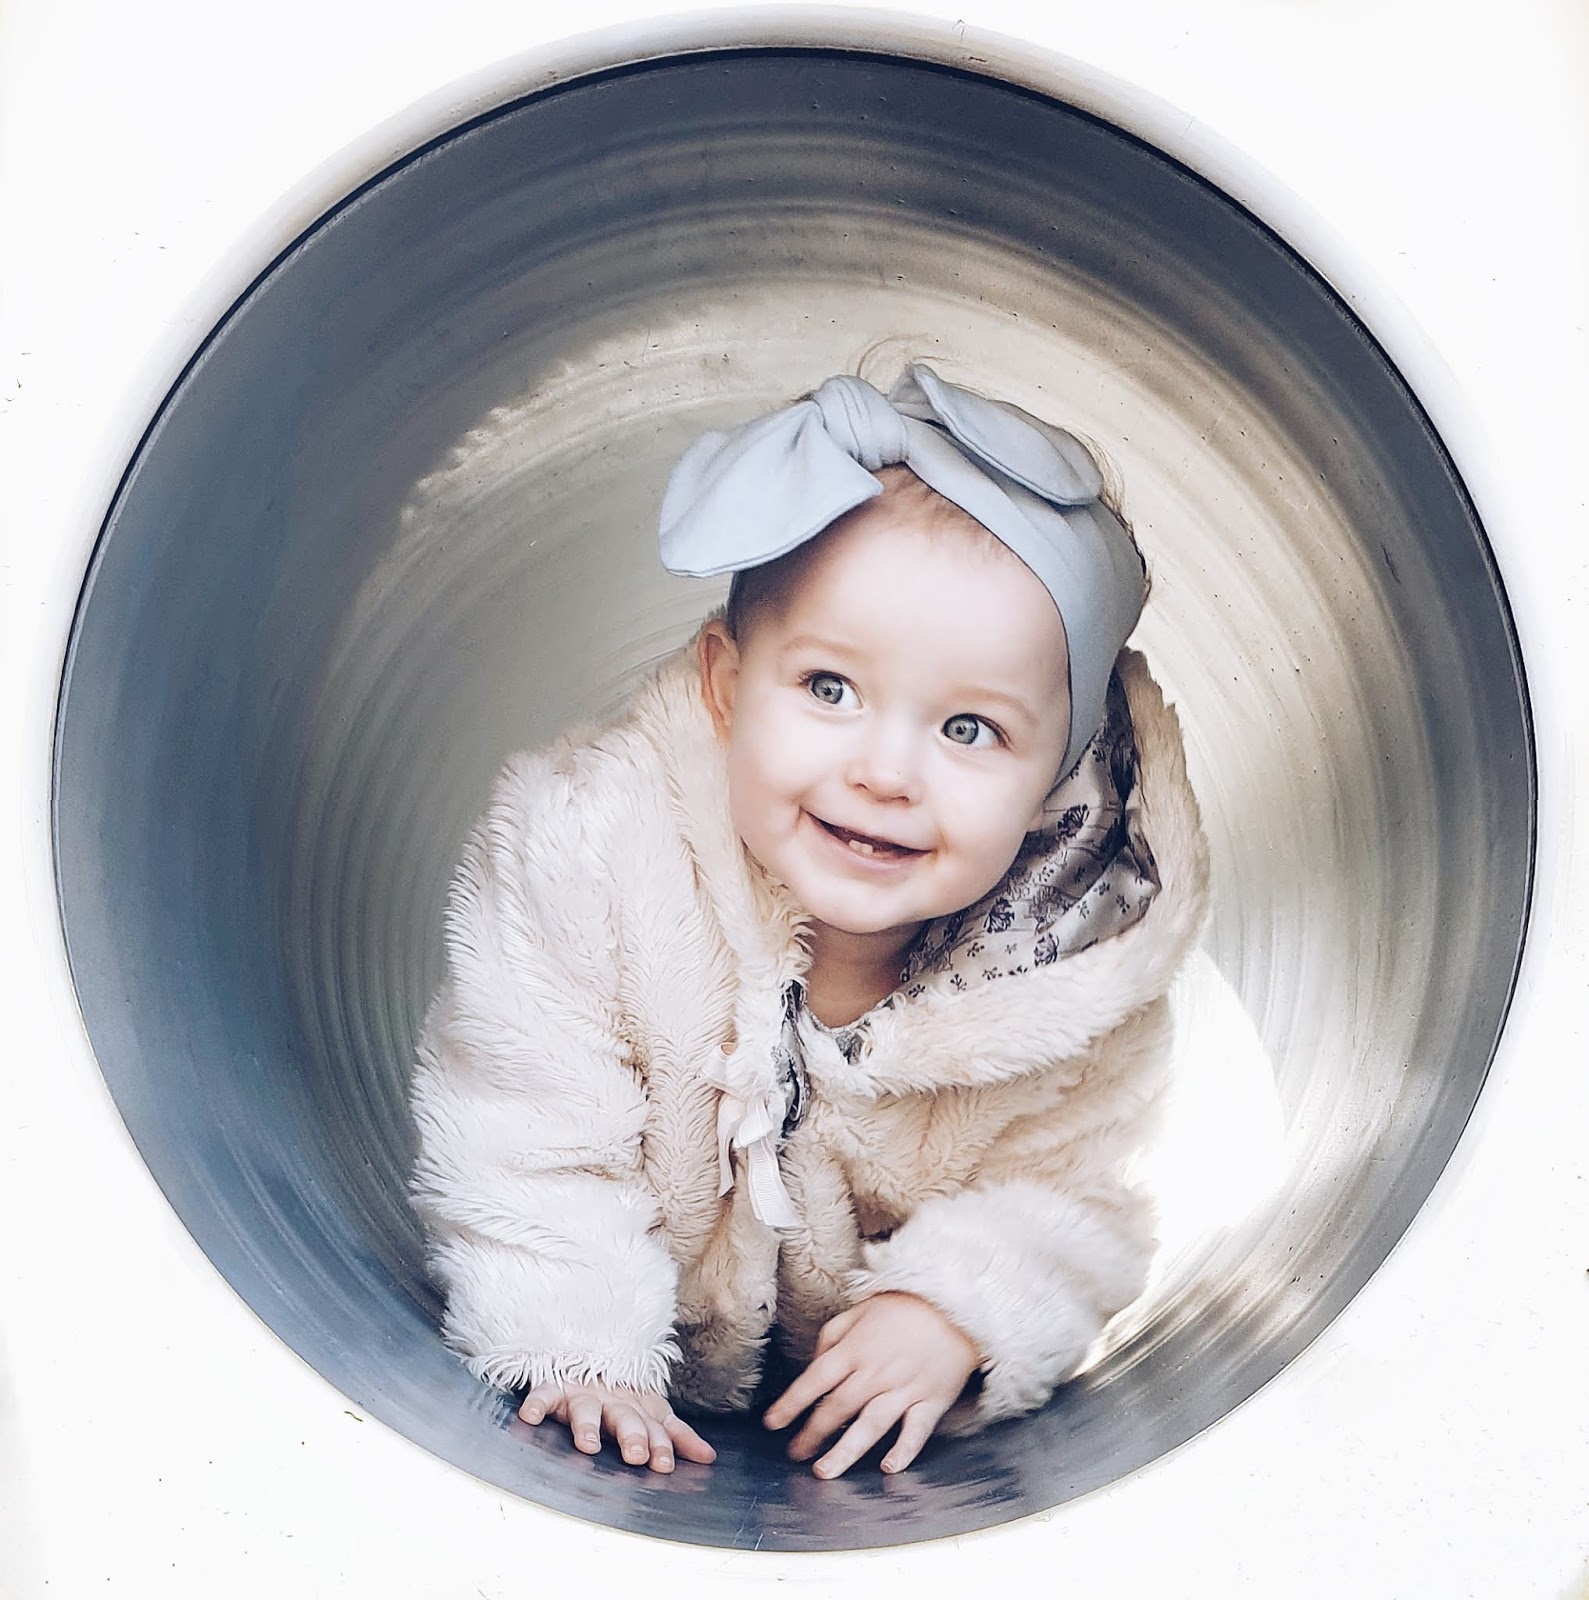
I then opened the new image in Facetune. I used the whiten tool to change the yellow to white. I did this twice as it didnt go white enough the first time (see below). If you have not used the whiten tool before, you simply select whiten and use your finger to scroll over the parts you want to whiten, think like your colouring it in. There is an erase tool too in case you make a mistake.


Step 6
This step is totally not necessary but I'm loving this filter at minute. I opened the new image in VSCO and added filter A5, but I turned it down to about 5.6

All done. It literally takes about 5 minutes.
I would love to hear your thoughts. See my Instagram here


0 comments