

I really liked how it turned out, and it was so fun to make. I made one for Lake and I got Jessica a bag too so she could do her own. We spent a lovely afternoon together painting and printing. I love crafts like this, where Jess and I can do them together. Won't be long and Lake will be able to join it! It's not really Adam and Harvey's sort of thing, but they had a great afternoon playing Playstation lol!

Ok, this did take a couple hours, then I left it overnight to dry. But like I said, spending time and having fun with Jessica makes it totally worth it. And its so so easy!

The Sack (I got mine of ebay, it was called a laundry bag i think)
Fabric paint (I chose black and red, both from Amazon)
Stencils ( Mine where from Amazon, they where snow spray window stencils, then I got some letter stencils)
Sponge or paintbrush (I used a old sponge)
Card


Step 1
Get prepped! The first thing I would do is wedge something flat, I used cardboard inside the bag to prevent the paint leaking through to the back of the bag. Then I cut of the letter stencils, so I could use them individually. I would also have a rough idea of what you want to put on the bag and what pictures you want to use where etc.
Step 2
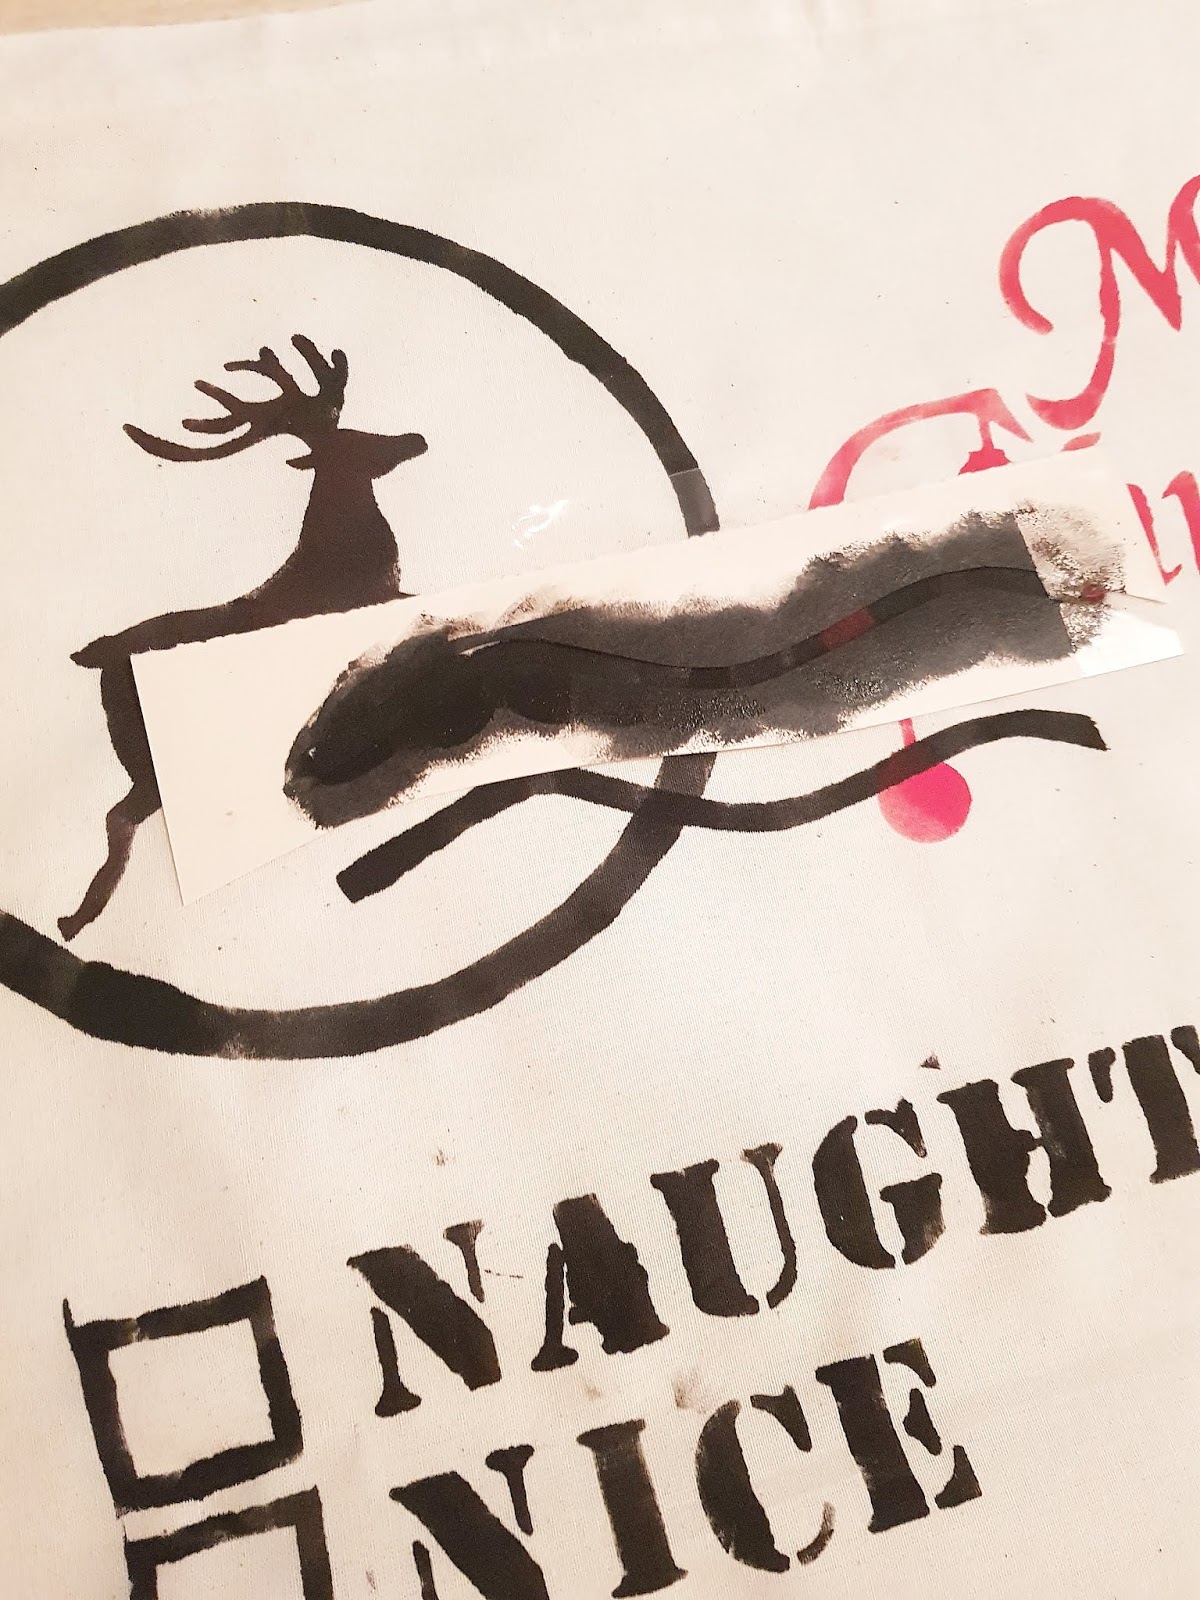
I placed the stencils in place and used a sponge to dab on the paint. I ended up sellotaping them in down each time as they tended to slide about a bit. I started in the middle with the naughty or nice tick boxes, and used card to make myself a little square and tick stencil for the tick boxes. I then went on to add 'Special delivery by reindeer mail for Lake' and added a reindeer each side.


Step 3
Just continue printing until you have your desired Santa Sack. I wanted to add a big stamp at the top. So again made a stencil from card to create this effect below.

Then, obviously let the paint dry and you are good to go!


0 comments