
Ok so if you have come here from my Instagram stories, I may have just lured you in there with that title but bare with me. I thought it would be fun to start a little blog series about all the apps I love and that can really help up your Instagram game. I'll only be sharing one app today, but it will follow each Monday with a new one. From basic editing apps to adding animations on images. From apps that give insights on your followers to apps that earn you money. All these apps will be apps that I use and all will help make your Instagram life a little easier. I'd love it if you can join me and follow along with my little series and I hope you will discover something that will help you out!
I have mentioned on so many occasions that I always use my phone for everything and anything photography and Instagram related, both for taking photos and editing and I truly believe you dont need a fancy camera or fancy editing softare. All you need is a smart phone. So this is why I decided to put together this little series. So, all these apps are free and utterly brilliant!
So to kick things off today, I wanted to start with my most used, most favourite app:
Snapseed
(free on Android and IOS)
I have experimented with so many editing apps after recommendations but I always find myself coming back to Snapseed, especially for the basics. My most asked question on Instagram is on how I edit my photos and Snapseed is what I always recommend. Its so easy!
I'm not an expert at all and I'm not going to sit here and explain every single feature of Snapseed because 1, I'm pretty sure I'm not using it to its full potential anyway, and 2, lets face it, that would be pretty boring! But I wanted to briefly go over my favourite features and what I use it for the most as I definitely think it has some hidden gems!
Obviously it has the basics: crop, rotate, text adding features, a bunch of its own filters (which to be honest, I have never used), but here's my favourites features:
Healing
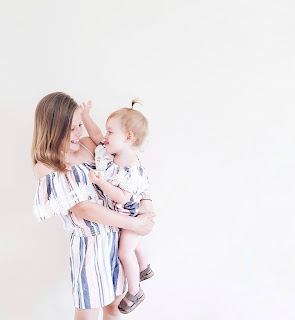
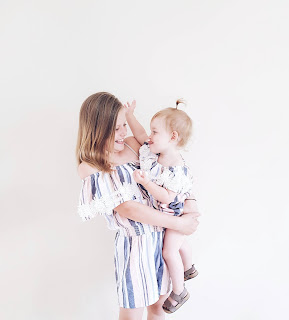
I used this all the time and honestly love it. If you have a little something you want to erase from the photo or blend in, the healing tool is great. You basically run your finger over an area you want to 'erase' or 'blend in.' Its great for getting rid of that biscuit left on the floor, that's ruining your photo or deleting that scuff mark on the wall. Im a sucker for plain backgrounds so I often erase that half a picture frame still in shot. I just think it make the image a lot 'cleaner' which is my preferred style. I have used it before to delete creases in blankets and erase a graze from Lakes knee. I know deleting these 'imperfections' is not everyone's cup of tea but its just my preferred style.

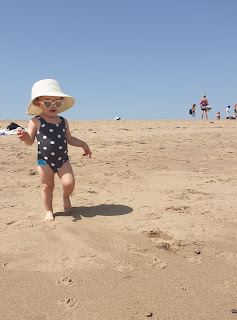
I often use it on outdoor shots too, for example to delete the awkward passers by on my beach photos!


Tip: Sometimes if the object you want to erase is too close to another, zoom in and 'heal' it that way as it tends to work better.
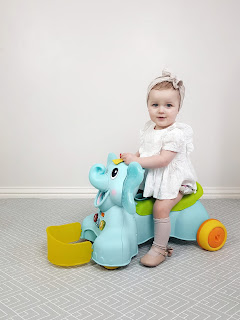
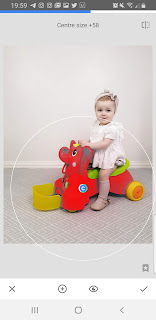
Expand
As mentioned before I like a 'clean' background on my images and sometimes this means I have to take the image closer up. So I use the expand tool to zoom out to create more background to the image, or to centre or off centre the focal point of the image. You basically drag out the side of the image, on any side you like.
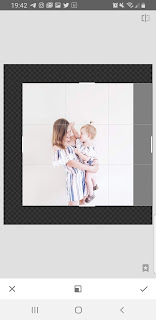
Tip: This tends to work better of plain backgrounds, the expand tool sometimes goes wrong on busy backgrounds. You can use the heal tool above to clean up for background first.
Selective Tool
The selective tool is where you can select a certain part of the image to edit that one part only. You pin point a section then use two fingers to drag which will expand or decrease that section, then you can edit the brightness, saturation, structure or contrast of that selected part. I use this for things like removing shadows on faces, to whiten (brighten) backgrounds, if one part is darker than others. I often use to to define a product too: Say I have a baby bottle I need to photograph for a brand, and the logo kind of gets lost in the image, I select that part and then up the structure to make it more defined.
The main thing I use it for though is to dull bright colours. I have more of a muted style to my images and I tend not to like bright colours that stand out. So if something is really bright it stands out like a sore thumb, I tend to select that part and turn the saturation down, which really dulls that down without dulling the whole image.
Tune Image
When you select tune image, it brings up lots of options to tune the image. I do this on pretty much every photo, I turn the brightness up, the ambience down and the high lights up. I'm not going to go into detail here as I have spoken how I do this many times before. Click here to see previous posts on this.
Next up are a couple of other features I really like but I dont use as much as the above:
Perspective
I only use this when its called for but say a flat lay images perspective is out, you can adjust it horizontally or vertically. It maked the image look more like it was shot forward facing rather than off to one side. I always shot forward facing. Angle shots scare me, I just cant do them!
Portrait
When you select this it automatically selects the face(s) in the image and smooths and brightens them. I don't use this too often as I find it tends to look too over edited but I do sometimes use it on a close up image.
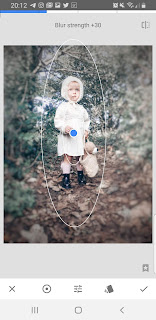
Lens Blur
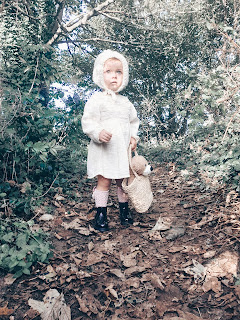
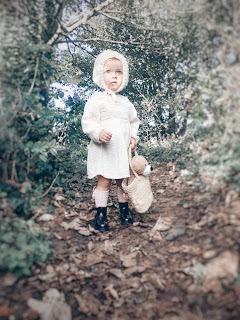
This is for when you want to blur out a background while keeping the focal point of the image crisp. As a lot of my images have plain backgrounds, I rarely use this, but I do really like if for outdoor shots, which I'm definitely love more of at the minute.
Next Monday I'll be focusing on another app, I hope you will join me!!
Pin now, read later...

Pin now, read later...

Other apps the the series so far...
0 comments